If you’re stepping into the world of electronics, whether for DIY projects or professional use, mastering the oscilloscope is an essential skill. But if you're just starting out, you may find yourself overwhelmed by the technical jargon and complex features. Don't worry! In this complete beginner's guide to using an oscilloscope, we’ll walk you through everything you need to know in simple and clear terms.
By the end of this guide, you’ll have a solid understanding of how an oscilloscope works, what it’s used for, and how to operate it effectively.
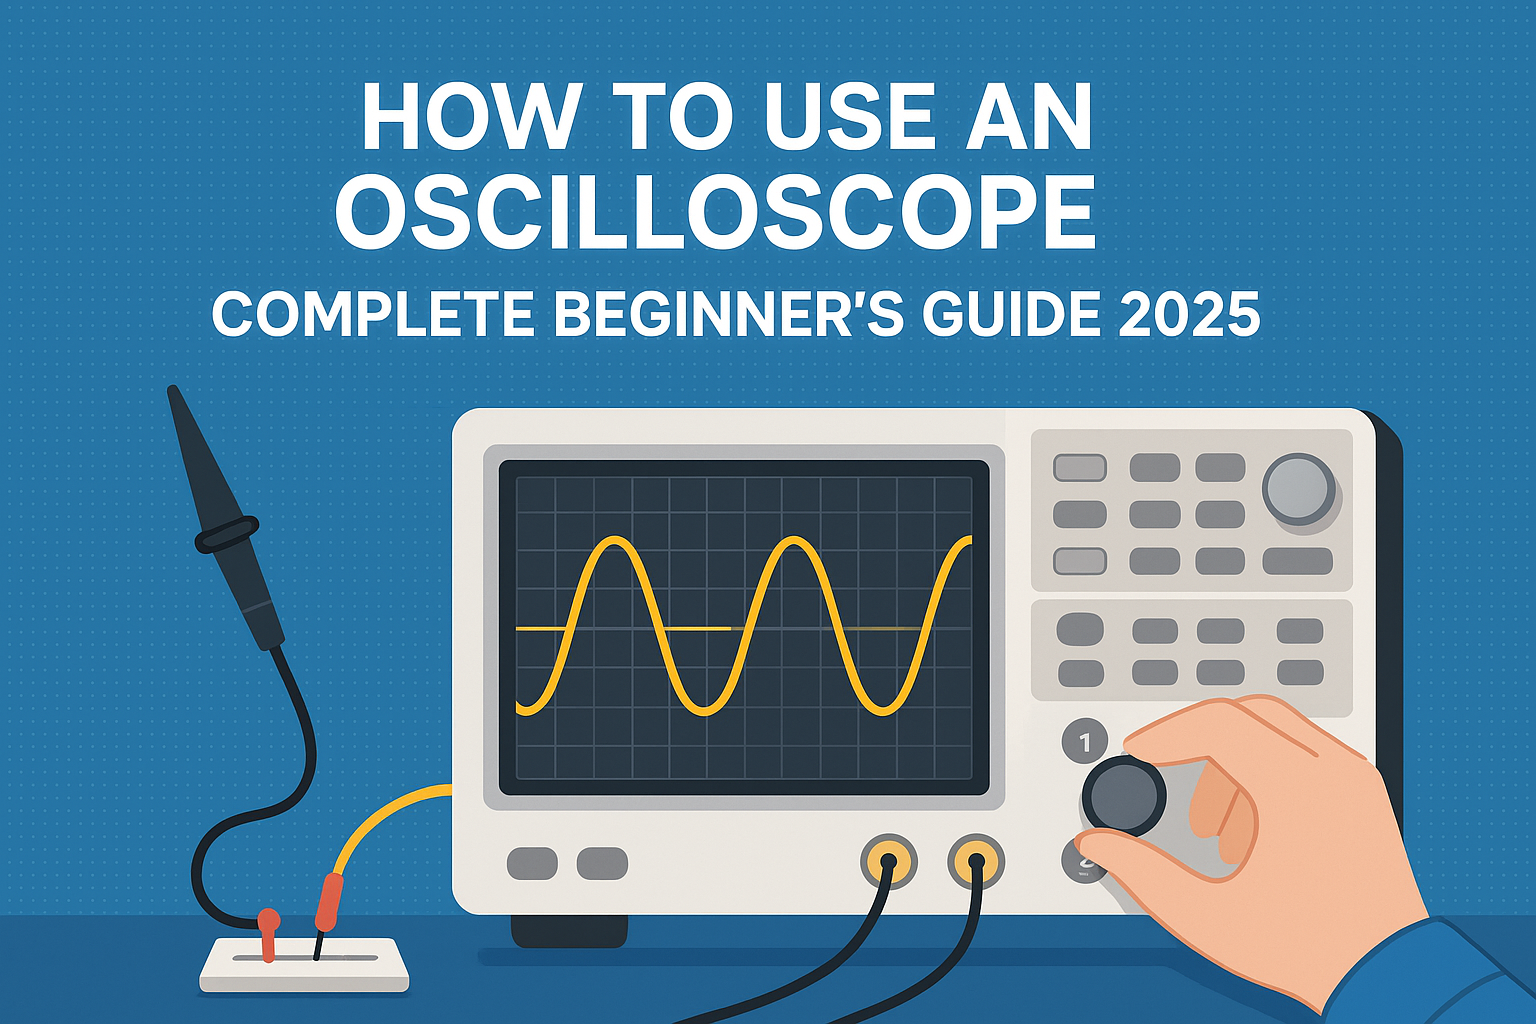
What is an Oscilloscope?
An oscilloscope is a powerful tool used to visualize and measure electrical signals. It allows you to see the waveform of an electrical signal on a screen, displaying how the voltage changes over time. Oscilloscopes are used in various fields, from electronics design to troubleshooting electrical circuits and testing signal integrity.
Unlike simpler tools like a multimeter, which only gives you a single reading of voltage, current, or resistance, an oscilloscope shows you how these quantities change over time, allowing you to view complex signals and identify issues like noise, distortion, and irregularities.
Why Do You Need an Oscilloscope?
If you're working on electronics, an oscilloscope is one of the most important tools in your kit. Here are a few reasons why:
-
Measure signal fluctuations: Oscilloscopes allow you to see how voltage signals change, which is essential for understanding how circuits work.
-
Troubleshoot problems: If you're working on a project or fixing a circuit, an oscilloscope helps pinpoint issues such as incorrect timing or faulty signals.
-
Work with high-frequency signals: Oscilloscopes can measure high-frequency signals, which can’t be captured by a multimeter.
-
Analyze complex waveforms: If your circuit is producing complicated signals, an oscilloscope will let you visualize these and break them down.
How Does an Oscilloscope Work?
At a basic level, an oscilloscope takes an electrical signal, measures its voltage, and then displays the signal as a waveform on the screen. The horizontal axis (X-axis) represents time, and the vertical axis (Y-axis) represents voltage.
An oscilloscope uses a probe to connect to the circuit you’re testing, and the signal is then displayed on the screen as a wave. The shape, size, and movement of the wave provide you with important information about the signal.
Let’s break down the key features:
-
Vertical controls: Adjust the voltage scale and position of the waveform on the screen.
-
Horizontal controls: Adjust the time scale, which lets you zoom in or out on the waveform.
-
Trigger controls: Stabilize the waveform to ensure the signal is steady and not jumping around on the screen.
-
Probe: Connects to the circuit under test to measure the electrical signal.
Basic Components of an Oscilloscope
Before we dive into how to use an oscilloscope, it’s essential to understand the key components:
1. Display Screen
The display screen is where you will see the waveform of the signal. Modern oscilloscopes have LCD screens, and some even allow you to save the waveform data for later analysis.
2. Time Base (Horizontal Axis)
This is the setting that controls how much time each division on the horizontal axis represents. It essentially sets the speed of the waveform and is important for analyzing how quickly the signal changes.
3. Voltage Scale (Vertical Axis)
This controls how much voltage each division on the vertical axis represents. It’s used to adjust the scale of the waveform’s amplitude, helping you measure the peak-to-peak voltage.
4. Trigger Control
Triggering is what helps you stabilize the waveform so you can see it clearly. When a signal is very fast or irregular, triggering ensures that the oscilloscope starts drawing the waveform at the same point each time.
5. Probes
Oscilloscopes use probes to connect to the circuit you are testing. The probes allow the oscilloscope to capture the electrical signal and send it to the device to display on the screen.
How to Use an Oscilloscope: A Step-by-Step Guide
Now that you have an idea of what an oscilloscope is and its components, let’s walk through the steps to use it.
1. Set Up the Oscilloscope
The first step in using an oscilloscope is setting it up properly. Here’s how you can get started:
-
Power on the oscilloscope: Turn on your oscilloscope using the power button.
-
Select the input channel: Oscilloscopes often come with multiple input channels (usually two or more). Choose the channel you want to use, usually Channel 1 or Channel 2.
-
Connect the probe: Attach the oscilloscope probe to the input channel, then connect the probe’s clip to the point in the circuit where you want to measure the signal.
-
Adjust the voltage scale: Use the vertical control to set the voltage scale based on the signal you expect. For example, if you are measuring a small signal, choose a smaller voltage scale.
-
Adjust the time base: Set the time base or horizontal scale to suit the frequency of the signal you're measuring. Faster signals need a smaller time base.
2. Trigger the Oscilloscope
Once you’ve set up the oscilloscope and connected the probe, the next step is to trigger the oscilloscope so it starts displaying the signal properly.
-
Set the trigger type: Choose the edge trigger for most standard signals, or use other types if you need to capture more complex signals.
-
Adjust the trigger level: Set the level at which the oscilloscope starts capturing data. For example, you might trigger at the point where the signal crosses a certain voltage threshold.
-
Fine-tune the trigger controls: Adjust the trigger to ensure a stable waveform on the screen. This prevents the signal from jumping around and makes it easier to analyze.
3. Analyze the Waveform
Now that the oscilloscope is triggered and displaying the waveform, it's time to analyze it.
-
Look at the waveform: The waveform on the screen represents how the voltage of the signal changes over time. A clean, steady wave indicates a stable signal, while any irregularities or noise can point to potential issues.
-
Measure key values: Use the measurements tool (if available on your oscilloscope) to calculate important values such as:
-
Frequency: The number of cycles per second (Hertz).
-
Amplitude: The height of the wave, which tells you the signal’s voltage.
-
Period: The time it takes for one complete cycle of the waveform.
-
-
Adjust the controls: If necessary, adjust the vertical and horizontal controls to get a better view of the waveform. You can zoom in on a specific portion of the signal to analyze it more closely.
4. Save and Record Data (Optional)
Many modern oscilloscopes allow you to save the waveform for later analysis. This can be useful if you need to record data over time or if you need to share your findings with others.
-
Save the waveform: Use the oscilloscope’s save function to capture the signal data.
-
Export the data: Some oscilloscopes allow you to export the data to a USB drive or a connected computer for further processing.
Common Oscilloscope Measurements and How to Interpret Them
When you use an oscilloscope, you’ll often be looking at several key parameters of the waveform. Here are some of the most important ones:
1. Frequency
The frequency is the number of complete cycles the waveform undergoes per second. It’s measured in Hertz (Hz). A higher frequency means the signal is changing more rapidly.
2. Amplitude
The amplitude is the height of the waveform, representing the voltage level of the signal. Higher amplitude means a higher voltage.
3. Rise Time
The rise time is the time it takes for the signal to rise from 10% to 90% of its peak value. It’s an important measure of the speed of a signal.
4. Period
The period is the amount of time it takes for one complete cycle of the waveform. It’s the inverse of frequency. A signal with a high frequency will have a shorter period.
5. Peak-to-Peak Voltage
This is the difference between the maximum and minimum voltages of the waveform. It shows the full range of the signal’s voltage fluctuations.
Tips for Using an Oscilloscope Effectively
-
Start simple: If you’re a beginner, start with basic waveforms and work your way up to more complex signals.
-
Use the auto-set feature: Many oscilloscopes have an auto-set function that will automatically adjust the controls for you based on the signal.
-
Use multiple channels: If your oscilloscope has multiple channels, use them to compare two signals simultaneously.
-
Keep your probes clean: Dirty or worn-out probes can affect the accuracy of your measurements.
Conclusion
Using an oscilloscope might seem intimidating at first, but once you understand the basic functions and controls, you’ll find that it’s an invaluable tool for analyzing electrical signals. Whether you’re a beginner working on basic electronics or an engineer troubleshooting complex circuits, mastering the oscilloscope will help you visualize and understand how your circuits behave.